
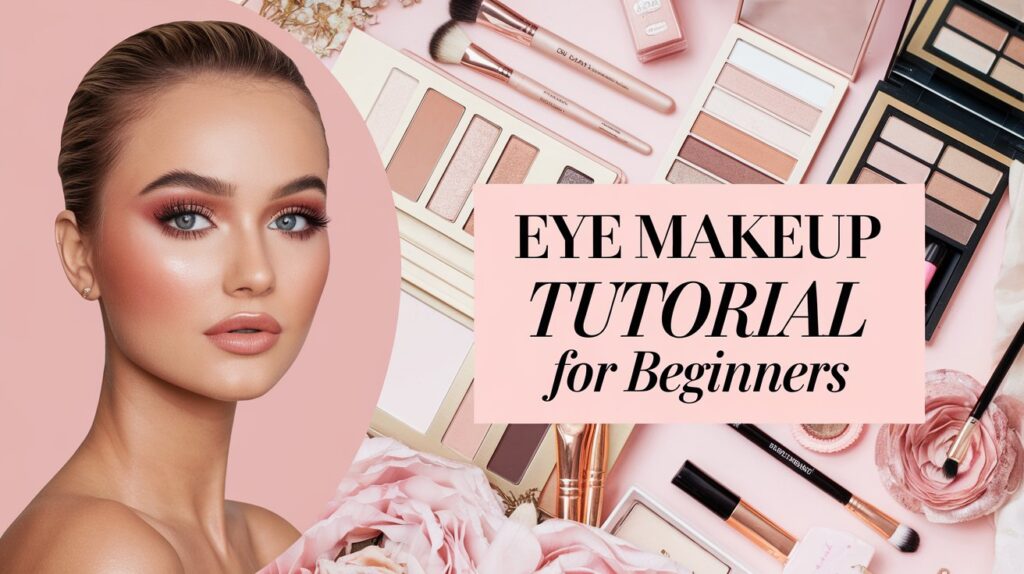
10 Essential Steps for a Flawless Eye Makeup Tutorial for Beginners
Table of Contents
Introduction: Eye Makeup Tutorial for Beginners
Eye makeup is like a magic trick for your face. With just a few strokes of color and some blending, you can completely change your look, highlight your best features, and show off your style. But if you’re new to this, it can feel a bit daunting. Don’t worry—I’m here to help! This guide will walk you through everything you need to know about eye makeup, from the tools you’ll need to learning different techniques. By the end of this tutorial, you’ll be creating stunning eye looks with confidence!
Step 1: Gather Your Essential Eye Makeup Tools
Brushes You’ll Need
To create any eye makeup look, you need the right brushes. You don’t need a ton, just a few key ones:
- A fluffy blending brush to soften color in your crease.
- A flat shader brush to apply eyeshadow on your lids.
- An angled brush for precise lines, like eyeliner or eyebrow details.
These tools will be your best friends as you start your eye makeup journey.
Additional Tools and Products
Besides brushes, a few other tools and products are essential:
- Eyelash Curler: This tool lifts your lashes, making your eyes appear bigger and more awake.
- Eye Primer: It helps your eyeshadow stay vibrant and last longer without creasing.
- Quality Eyeshadows: Invest in good eyeshadows that are easy to blend and have good color payoff.
- Mascara and Eyeliner: These are must-haves for defining your eyes and adding that finishing touch.
Step 2: Prep Your Eyes for Makeup
Cleanse and Moisturize
Before applying any makeup, it’s important to start with a clean, moisturized face. This ensures your makeup goes on smoothly and lasts longer. Use a gentle cleanser to wash away any dirt or oil, followed by an eye cream or lightweight moisturizer to hydrate the delicate skin around your eyes.
Primer: The Secret to Long-Lasting Makeup
Ever notice how some people’s eyeshadow stays flawless all day? The secret is primer. Applying a small amount of eye primer to your lids creates a smooth base that helps your eyeshadow stick and prevents it from creasing. It also makes the colors pop, so even subtle shades stand out more.
Step 3: Master Basic Eye Makeup Techniques
Blending Like a Pro
Blending is the backbone of eye makeup. It’s what turns a blocky, harsh look into a smooth, seamless one. Here’s how to do it:
- Start with a small amount of product on your brush.
- Apply it to the crease of your eye in small, circular motions.
- Blend, blend, blend until you can’t see where one color ends and another begins.
Remember, it’s easier to add more color than to take it away, so start with less and build up the intensity.
Understanding Your Eye Shape
Not all eyes are the same, and knowing your eye shape can make a huge difference in how you apply your makeup. Whether you have hooded, almond, or round eyes, understanding your shape will help you enhance your natural features. For example, if you have hooded eyes, you might want to apply color slightly above the crease to make your eyes look larger.
Step 4: Create a Simple Everyday Look
Natural Eyeshadow Application
For a quick and easy everyday look, stick to neutral tones like browns, beiges, and soft pinks. Here’s how to do it:
- Apply a light shade all over your lid as a base.
- Use a slightly darker shade in your crease to add depth.
- Finish by applying a shimmer shade to the center of your lid for a bit of brightness.
This look is subtle, polished, and perfect for any occasion.
Eyeliner for Beginners
Eyeliner can be a bit tricky, but it doesn’t have to be! If you’re just starting out, try a pencil eyeliner, which is easier to control. Start by drawing a thin line as close to your lash line as possible. Don’t worry if it’s not perfect—small smudges can be easily fixed with a cotton swab. You can also gently smudge the line for a softer, more natural look.
Subtle Mascara Application
Mascara is the finishing touch that pulls your whole look together. To apply:
- Start at the base of your lashes and wiggle the wand upwards to the tips.
- This ensures each lash is evenly coated, adding volume and length.
For a natural look, one coat might be enough. But if you want more drama, go for a second coat. Don’t forget to lightly coat your lower lashes too!
Step 5: Go Bold with Evening and Special Occasion Looks
Smokey Eye Made Easy
The smokey eye is a classic look that’s perfect for evenings or special occasions. Here’s how to achieve it:
- Apply a dark eyeshadow on the outer corner of your lid, blending towards the center.
- Use a medium shade in your crease to blend the dark color.
- Apply a light, shimmery shade to the inner corner of your eye and just below your brow bone to brighten the look.
Blend everything well to avoid harsh lines, and you’ve got yourself a simple yet stunning smokey eye.
Adding Drama with Winged Eyeliner
Winged eyeliner adds an instant edge to any look. Here’s how to do it:
- Draw a thin line from the outer corner of your eye, angling slightly upward toward the end of your brow.
- Connect the tip of the line back to your lash line to create a triangle shape, and fill it in.
If the wing looks uneven, use a makeup remover wipe to clean up the edges. Practice makes perfect, so don’t worry if it takes a few tries to get it right.
False Lashes: Yes or No?
False lashes can add a dramatic flair, but they’re not for everyone. If you’re new to falsies, start with a natural-looking pair that’s not too long or voluminous. Here’s how to apply them:
- Apply a thin layer of lash glue along the band.
- Wait a few seconds for the glue to get tacky.
- Place the lashes as close to your natural lash line as possible.
If they feel uncomfortable, try trimming the ends to fit your eye shape better.
Step 6: Avoid Common Mistakes
Overblending and Harsh Lines
While blending is key to a smooth look, overblending can cause colors to muddy together, losing their intensity. On the flip side, not blending enough can leave you with harsh lines. Finding the right balance takes practice. Use a light hand and blend in small, controlled motions. Also, avoid using too much product at once; build up the color gradually for a polished finish.
Misunderstanding Your Eye Shape
Applying makeup without considering your eye shape can lead to a look that doesn’t quite suit you. Take the time to understand your eye shape and adjust your techniques accordingly. For instance, if you have round eyes, you might want to elongate them by extending your eyeshadow outwards.
Step 7: Fix Eye Makeup Mistakes Quickly
Removing Smudged Eyeliner
Smudged eyeliner can be a real bummer, but it’s easy to fix. Dip a cotton swab in makeup remover and gently wipe away the smudge. If you’re in a pinch, a bit of moisturizer on a tissue can also do the trick.
Fixing Fallout from Eyeshadow
Eyeshadow fallout is when the powder lands under your eyes instead of staying on your lids. To fix this, use a fluffy brush to gently sweep away the excess. You can also apply a bit of translucent powder under your eyes before doing your eye makeup, which will catch any fallout and can be easily brushed away afterward.
Step 8: Experiment with Colors and Styles
Play with Different Eyeshadow Colors
Once you’re comfortable with the basics, don’t be afraid to experiment with different eyeshadow colors. Try out bold shades like blues, greens, or purples to see what complements your skin tone and eye color. Playing with colors can be a fun way to express your creativity and change up your look.
Try Different Eyeliner Styles
Beyond the classic winged eyeliner, there are many styles you can try, such as the reverse cat-eye, double-wing, or graphic liner. These styles can add a unique flair to your look and make your eyes stand out even more.
Step 9: Take Care of Your Eyes and Lashes
Properly Remove Eye Makeup
Taking care of your eyes is just as important as applying makeup. Always remove your eye makeup at the end of the day to prevent irritation and keep your lashes healthy. Use a gentle makeup remover and follow up with a hydrating eye cream.
Nourish Your Lashes
Your lashes need some love too! Consider using a lash serum to keep them strong and help them grow longer. You can also give them a break from mascara and false lashes every now and then to let them recover.
Step 10: Build Your Confidence
Practice Makes Perfect
Like anything else, getting good at eye makeup takes practice. Don’t be discouraged if your first attempts aren’t perfect. The more you practice, the more confident you’ll become. Soon, you’ll be able to create stunning looks with ease.
Have Fun with Your Makeup Journey
Remember, makeup is all about having fun and expressing yourself. Don’t be afraid to experiment and try new things. As you continue on your makeup journey, you’ll discover what works best for you and develop your own unique style. The journey itself is just as exciting as the destination, so enjoy the process and embrace the creativity that comes with it!
Conclusion:
Eye makeup is a powerful tool for self-expression, and with these 10 essential steps, you’re well on your way to mastering it. Whether you’re going for a natural, everyday look or something bold and dramatic, the key is to have fun and make it your own. Remember, the beauty of makeup is that it’s temporary—you can always wipe it off and start fresh. So don’t be afraid to experiment, play with colors, and most importantly, enjoy the journey. With practice, patience, and a little bit of creativity, you’ll be crafting eye-catching looks that make you feel confident and fabulous every day. for more such type of informative article visit UREYU.
FAQs
Q1: How do I choose the right eyeshadow color for my skin tone?
Generally, warm tones like golds and bronzes suit warmer skin tones, while cool tones like blues and grays work well with cooler skin tones. But there are no hard rules—wear what makes you feel good! If you’re unsure, neutral shades like browns and taupes are universally flattering.
Q2: Can I use the same brush for different eyeshadow colors?
You can, but it’s best to clean your brush between colors to avoid muddying them. You can quickly clean your brush with a tissue or invest in a brush cleaner spray. This will help maintain the integrity of each color and keep your look fresh.
Q3: What should I do if my eyeshadow creases?
Try using an eye primer before applying your eyeshadow. It helps create a smooth base that prevents creasing and keeps your makeup in place all day. If you don’t have a primer, a small dab of concealer or foundation can work as a substitute.
Q4: How can I make my eyes look bigger with makeup?
Use a light shade on the inner corners of your eyes and a darker shade on the outer corners to create depth and dimension. Curling your lashes and applying mascara will also help open up your eyes. Additionally, lining your waterline with a nude or white eyeliner can make your eyes appear larger and more awake.
Q5: Is it okay to wear eye makeup every day?
Yes, it’s perfectly fine to wear eye makeup daily, but make sure to remove it properly at the end of the day to avoid irritation. Use a gentle makeup remover that’s safe for the eye area and follow up with a good skincare routine to keep your eyes healthy. Giving your eyes a makeup-free day every now and then can also help them stay fresh and reduce the risk of irritation.
Sources
- Allure – allure.com
- Makeup.com – makeup.com
- Byrdie – byrdie.com
- Lisa Eldridge – youtube.com/LisaEldridge
- NikkieTutorials – youtube.com/NikkieTutorials
Related Articles
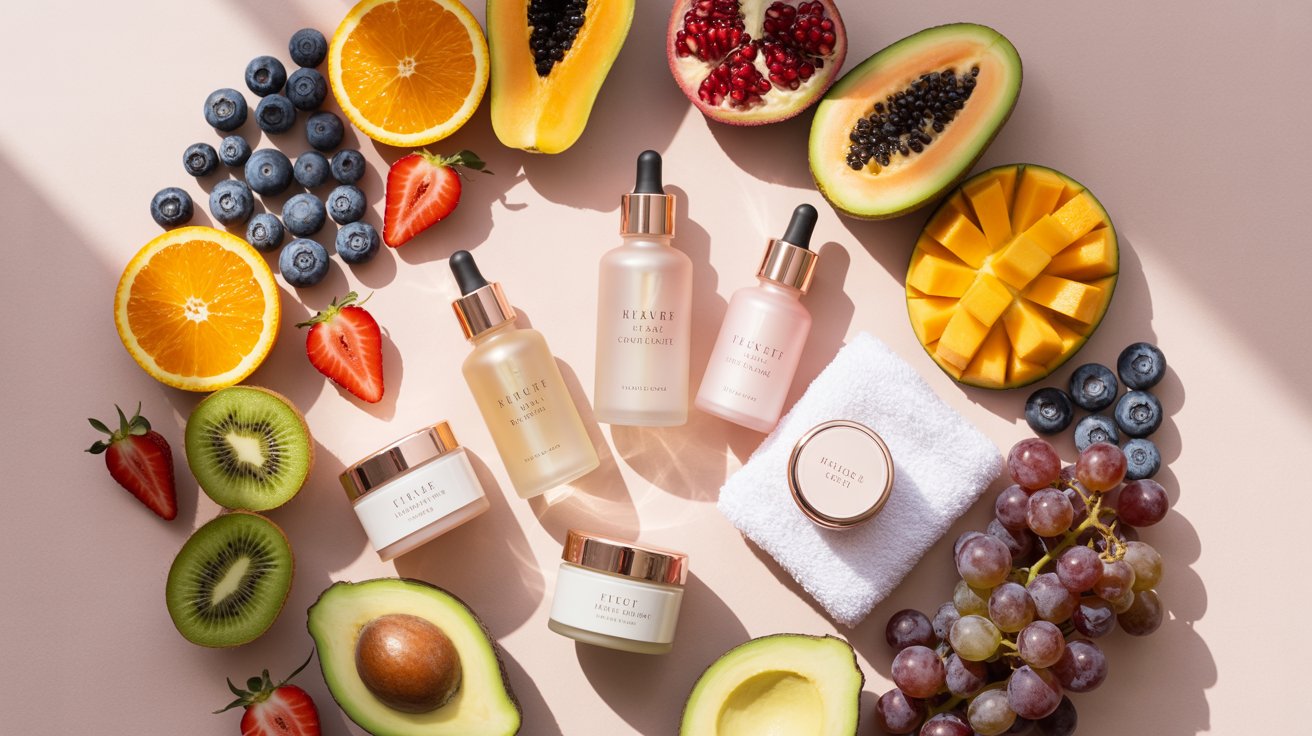
20 Best Fruits for Glowing Skin: Natural Foods for a Radiant Complexion

Fruits for glowing skin are nature’s simplest solution for radiant, healthy skin. Packed with vitamins, antioxidants, and hydration, these fruits…

How to Choose a Skincare Routine That Works in Any Climate.

How to Choose a Skincare Routine That Works in Any Climate. Choosing the right skincare routine is essential for healthy, glowing…

How to Rock the Hush Cut Hair Trend in 2025
How to Rock the Hush Cut Hair Trend: A Complete Guide to the New Hairstyle How to Rock the Hush Cut…
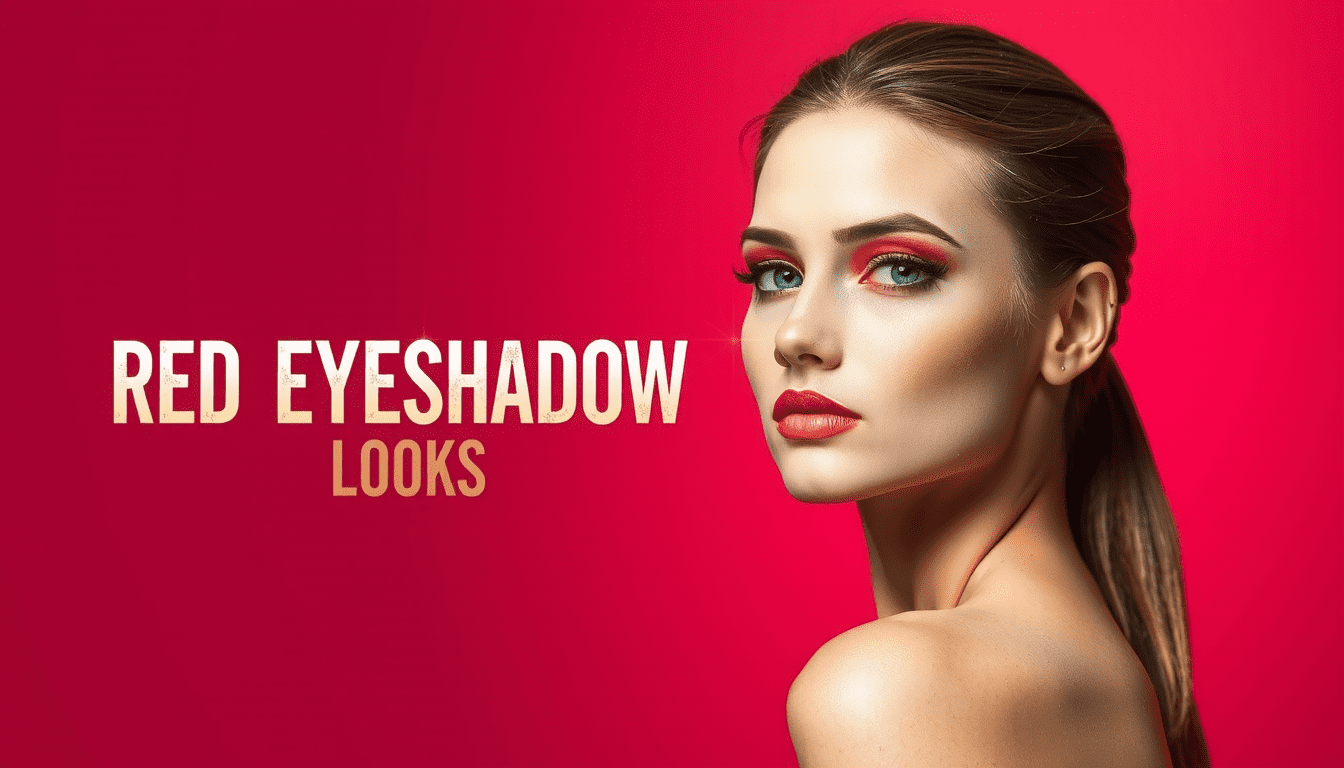
10 Red Eyeshadow Looks: Elevate Your Eye Makeup Game
Red Eyeshadow Looks: Stunning Ideas to Elevate Your Eye Makeup Game Red eyeshadow looks are taking over the beauty scene, and…

B Vitamin Complex for Hair Growth: Boost Your Locks Naturally
The Ultimate Guide to Using B Vitamin Complex for Hair Growth: Boost Your Locks Naturally! Are you tired of dealing with…
How To Moisturize Your Hair: A Comprehensive Guide
How To Moisturize Your Hair Introduction Moisturizing your hair is a crucial element in preserving its overall health and vibrancy. Regardless of…


Wow! Thank you! I constantly wanted to write on my site something like that. Can I implement a portion of your post to my site?
mgywiq
gracqa