Step-by-Step Guide: Perfect Winged Eyeliner for Hooded Eyes Made Simple
Hooded eyes can make applying winged eyeliner a bit tricky, but with the right techniques and a little patience, you can create a look that’s both stunning and long-lasting. In this guide, we’ll break down every step in detail, using easy-to-understand language so that anyone, even a beginner, can follow and apply Winged Eyeliner for Hooded Eyes along. Let’s dive in!
Table of Contents
What Are Hooded Eyes?
Before we start, let’s quickly explain what hooded eyes are. If you have hooded eyes, it means that when your eyes are open, a fold of skin partially covers your eyelid. This can make your eyelid space appear smaller and cause eyeliner to disappear into the crease. While this can be frustrating, it doesn’t mean you can’t rock a winged eyeliner look! It just requires a few adjustments.
Why Winged Eyeliner for Hooded Eyes is Tricky
When you try to do winged eyeliner on hooded eyes, a few common problems can arise:
- The liner disappears: Once you open your eyes, the fold of skin can hide the liner.
- It smudges: The skin-on-skin contact can cause your liner to transfer and smudge.
- It’s hard to get both eyes even: Because your eye shape changes when you open and close your eyes, getting symmetrical wings can be challenging.
But don’t worry, with some easy-to-follow steps, you can create a winged eyeliner that works beautifully for hooded eyes.
Step 1: Prep Your Eyes
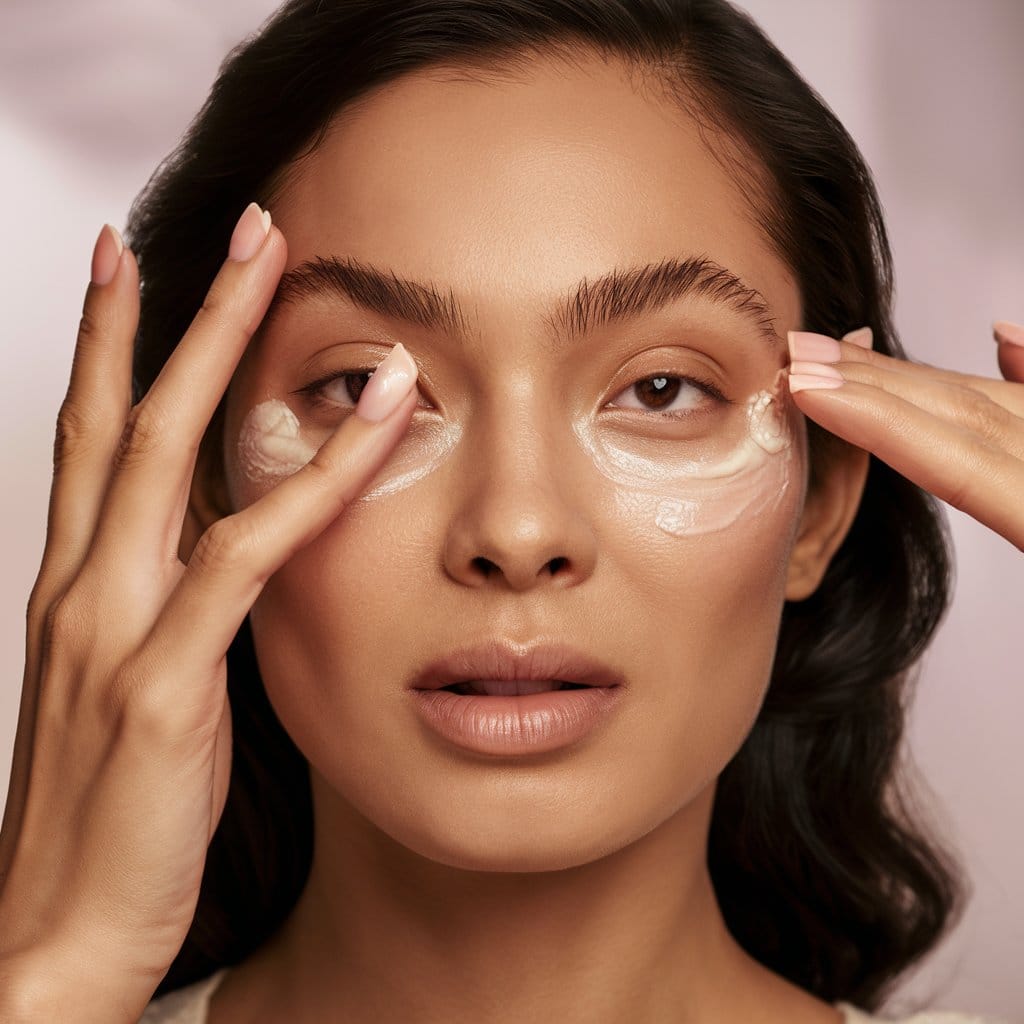
Start by prepping your eyes. This is like laying the foundation for a house—you want a smooth surface to work on.
- Apply Eye Cream: Begin by using a lightweight eye cream or balm. This helps to hydrate the skin around your eyes and reduce any puffiness. If your eyes are less puffy, it will be easier to apply your makeup evenly. A good product to use is the TULA Skincare Gold Glow + Get It Cooling & Brightening Eye Balm. Just dab a small amount under your eyes and on your lids.
- Why This Matters: Prepping your eyes makes your skin smoother and helps your makeup stay on longer. Plus, it reduces any puffiness that might make applying eyeliner more difficult.
Step 2: Prime Your Lids
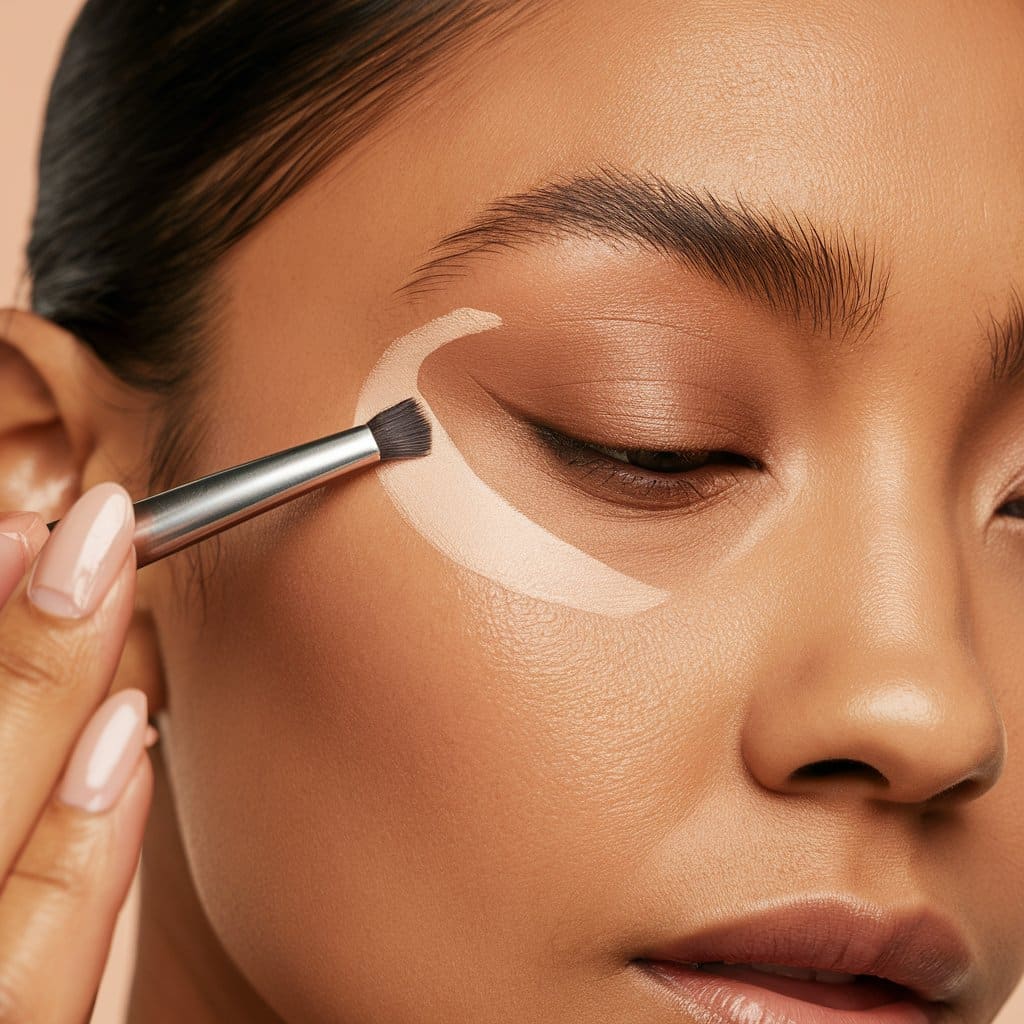
Next, you need to prime your eyelids. Think of this step as putting down a base coat before you paint—it helps everything stay in place.
- Use an Eyeshadow Primer: Apply a small amount of eyeshadow primer to your eyelids. This helps prevent your eyeliner from smudging or transferring to your upper lid. Pat McGrath Labs IntensifEYES Longwear Eyeshadow Primer is a great choice because it helps keep everything in place.
- Why This Matters: Primer stops your eyeliner from sliding around and keeps it looking fresh all day. Without primer, your eyeliner might smudge or disappear into the crease of your eyelid.
Step 3: Create a Fake Crease (Optional)
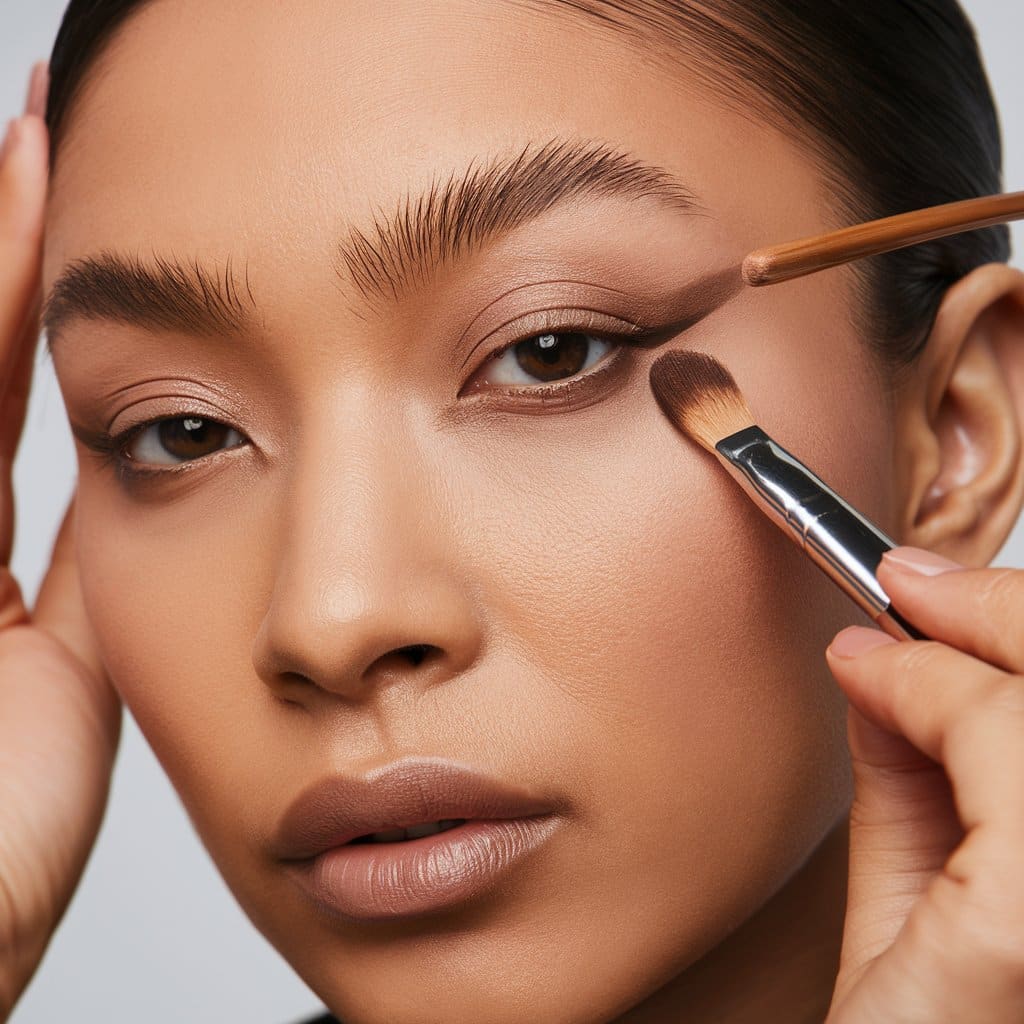
If you want to add a bit of depth to your eyes, you can create the illusion of a crease. This step is optional but can make your eyes look more open.
- Use a Light Brown Eyeshadow: Choose a matte light brown eyeshadow, like Addiction Tokyo’s The Eyeshadow in Praline. Using a small brush, draw a line slightly above your natural crease. Then, blend the line out gently so it looks soft and natural.
- Why This Matters: Creating a fake crease adds dimension to your eyes, making them appear larger and more open. This is especially helpful for hooded eyes, where the natural crease can be hidden.
Step 4: Sketch Out Your Wing with Pencil Liner
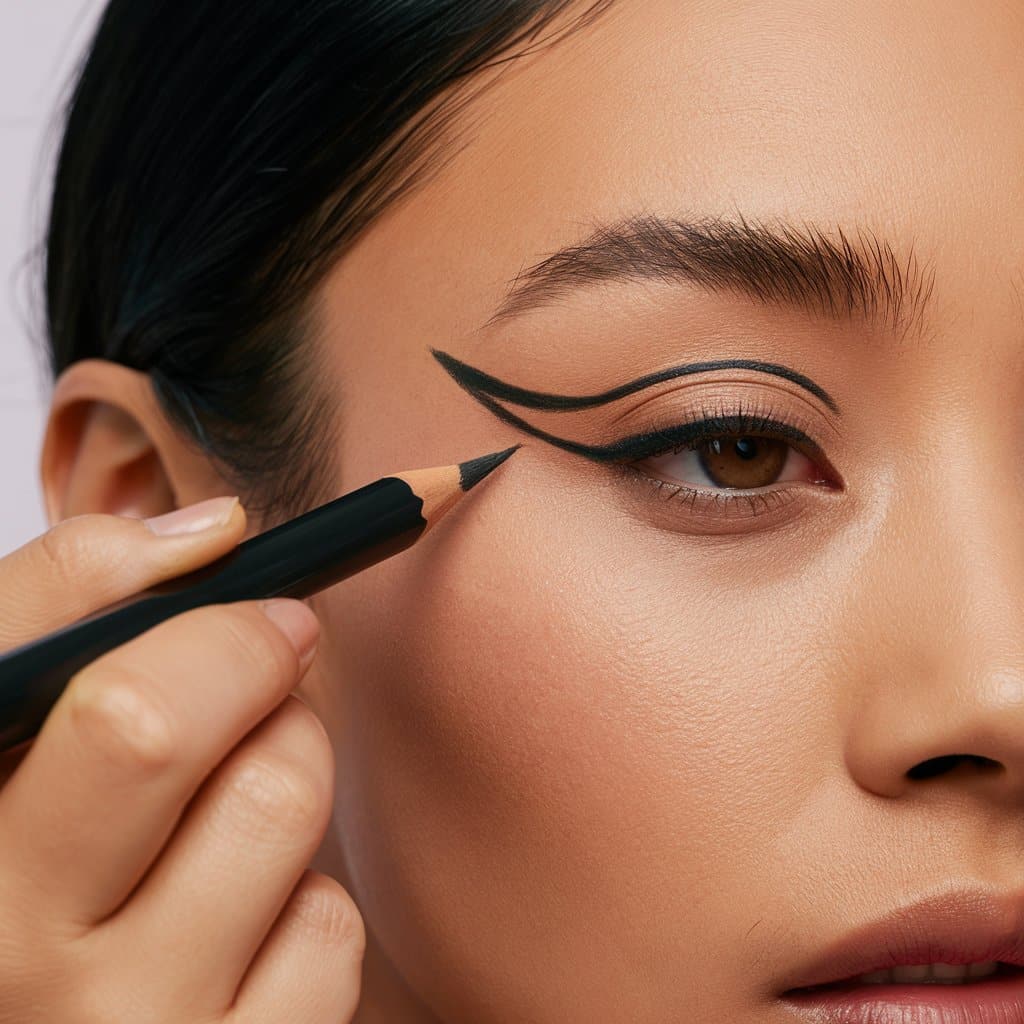
Now, it’s time to start creating your wing. Using a pencil liner first makes it easier to correct mistakes before committing to the final look.
- Keep Your Eyes Open: This is super important! When you have hooded eyes, you need to apply eyeliner with your eyes open so you can see where the liner will actually sit when your eyes are open. If you do it with your eyes closed, the liner might disappear into your crease when you open them.
- Sketch the Shape: Using a pencil eyeliner, lightly sketch the shape of your wing. Start by drawing a line along your upper lash line, then extend it outward and slightly upward to create the wing. Tip: Don’t try to do it all in one swoop. Use small strokes to gradually build the shape.
- Adjust the Thickness: Hooded eyes often need a thicker line to ensure the wing is visible when your eyes are open. Start with a thin line and gradually make it thicker until you’re happy with how it looks.
- Why This Matters: Pencil liner is easier to control than liquid liner, so it’s perfect for mapping out your wing. Plus, you can easily erase any mistakes with a cotton swab dipped in makeup remover.
Step 5: Clean Up the Edges
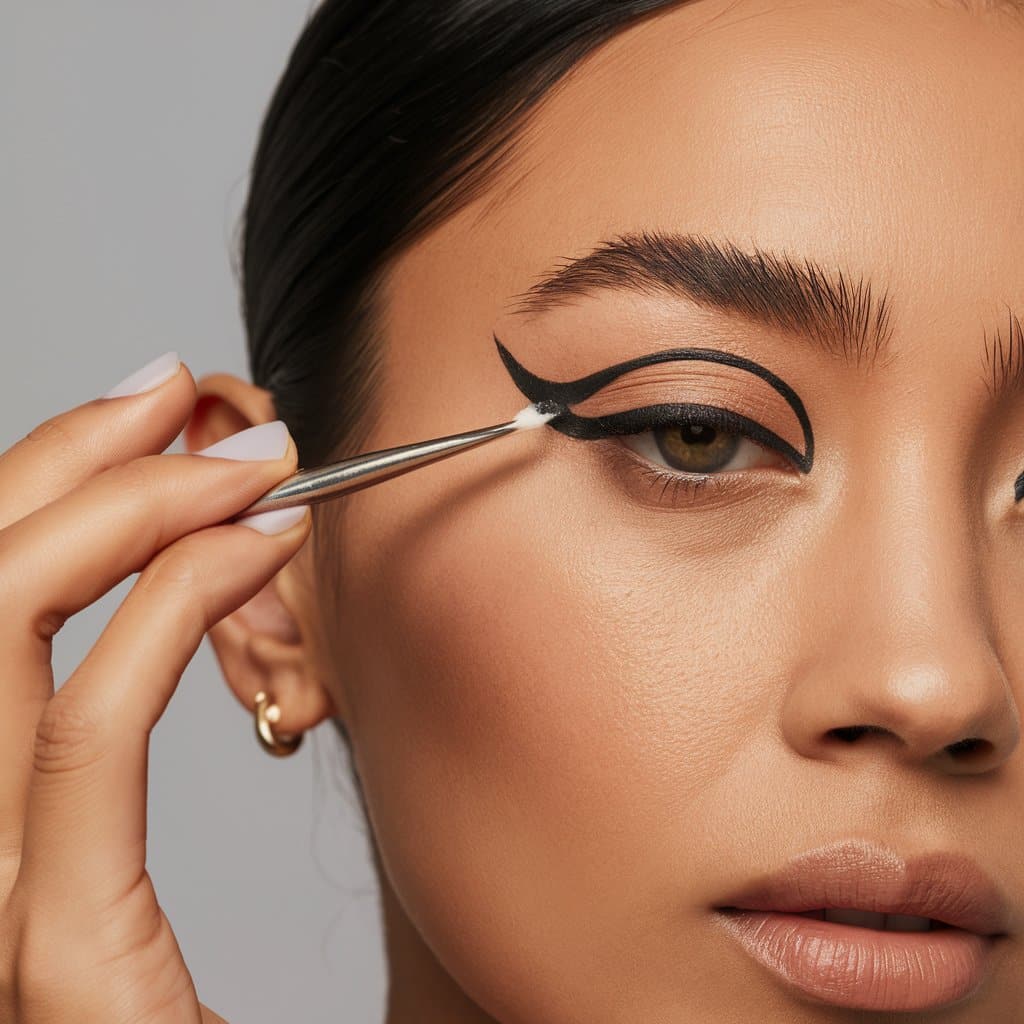
Once you’ve sketched out your wing, it’s time to clean up any rough edges and make your wing look sharp and precise.
- Use a Makeup Brush or Cotton Swab: Dip a small makeup brush or a pointed cotton swab into makeup remover or micellar water. Gently clean up any areas where the liner might have gone outside the lines. You want your wing to look crisp and clean.
- Why This Matters: Cleaning up the edges makes your eyeliner look more polished and professional. It’s like sharpening a pencil—it makes everything neater.
Step 6: Set Your Wing with Liquid Liner
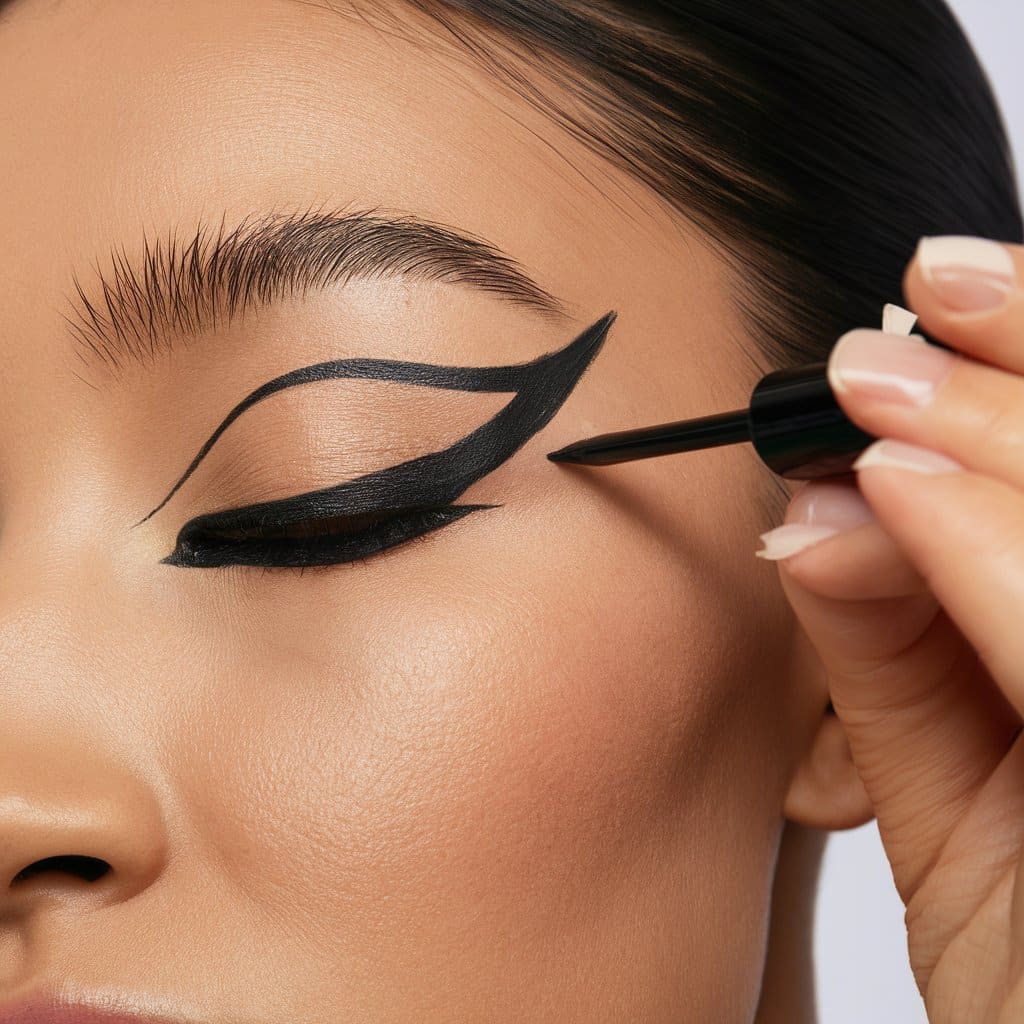
Now that you’ve got your shape, it’s time to go over it with liquid liner. This step will define the wing and make it last longer.
- Trace Over the Pencil Liner: Using a liquid eyeliner, carefully trace over the shape you created with the pencil liner. Start at the tip of the wing and work your way inward along the lash line. Tip: Use short, light strokes to avoid any mistakes. K-Palette Real Lasting Waterproof Eyeliner is a good option because it’s precise and long-lasting.
- Why This Matters: Liquid liner gives you that bold, sharp look that makes winged eyeliner stand out. It also helps the liner last all day without smudging.
Step 7: Fix Any Mistakes
If you make any mistakes with the liquid liner, don’t worry! It happens to everyone.
- Use Makeup Remover or Concealer: If your hand slips, use a small detailing brush or a cotton swab dipped in makeup remover to fix it. You can also use a tiny bit of concealer on a brush to clean up the edges.
- Why This Matters: Even pros make mistakes. Fixing them ensures your eyeliner looks perfect, not messy.
Step 8: Finish with Mascara and Lashes (Optional)
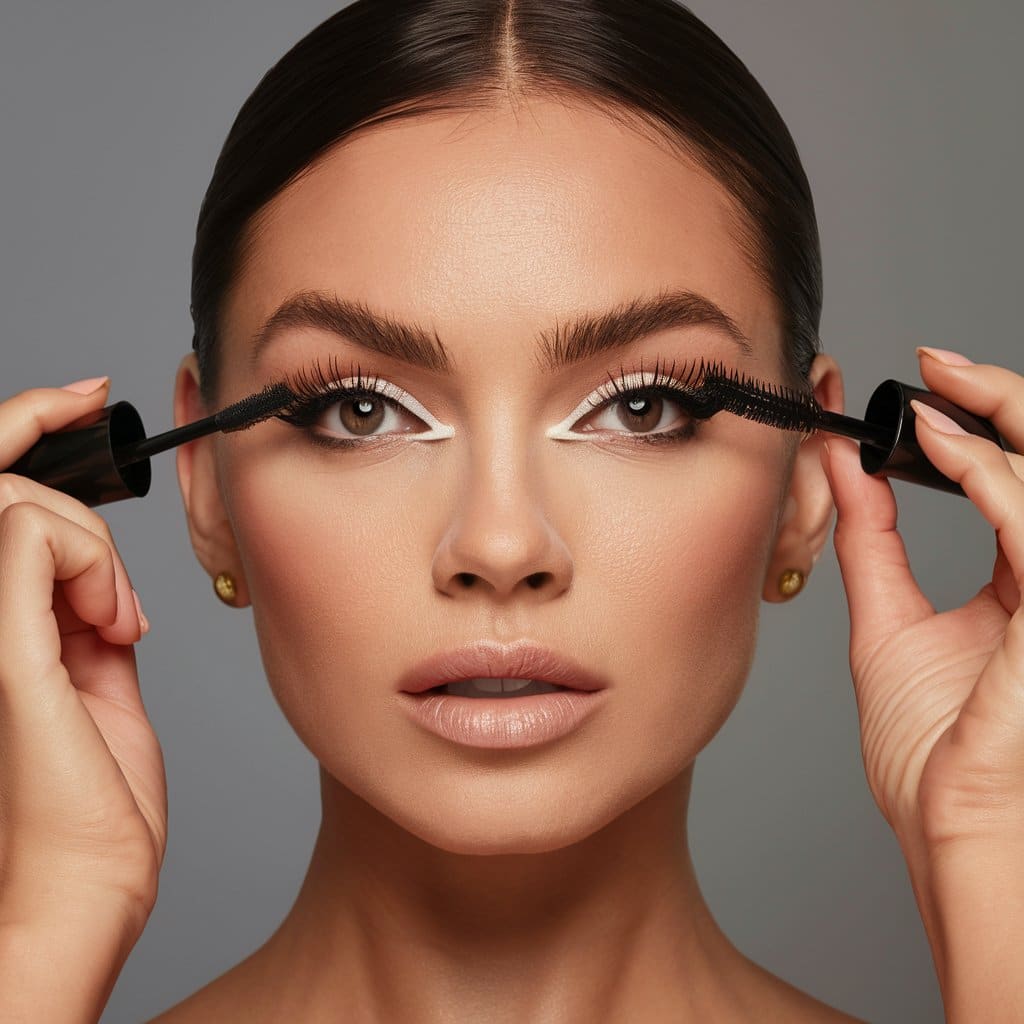
Finally, to really make your eyes pop, add some mascara and, if you want, false lashes.
- Apply Mascara: Use your favorite mascara to lengthen and define your lashes. This step helps open up your eyes even more and complements the winged liner.
- Optional: Add False Lashes: If you’re going for a more dramatic look, you can add a strip of false lashes. This creates a fuller, more glamorous effect.
- Why This Matters: Mascara and lashes add the finishing touch to your eye makeup, making your eyes look bigger and more defined.
Conclusion
Creating winged eyeliner for hooded eyes may take a bit of practice, but with these detailed steps, you’ll be able to master the look. Remember, the key is to work with your eye shape, keep your eyes open when applying the liner, and take your time to perfect each step. With the right products and techniques, you’ll be rocking that winged eyeliner for hooded eyes in no time!
FAQs:
1. What are hooded eyes?
Hooded eyes have a fold of skin that partially covers the eyelid, making the eyelid space appear smaller. This can make applying makeup, especially eyeliner, a bit challenging.
2. Why is winged eyeliner for hooded eyes is tricky?
Winged eyeliner can be difficult for hooded eyes because the fold of skin may hide the liner when your eyes are open, and it can also cause smudging due to skin-on-skin contact.
3. How can I prevent my eyeliner from smudging on hooded eyes?
Use an eyeshadow primer to create a smooth base and prevent smudging. Also, opt for waterproof liquid eyeliner for longer-lasting results.
4. Should I apply eyeliner with my eyes open or closed?
For hooded eyes, it’s best to apply eyeliner with your eyes open. This helps you see how the liner will look when your eyes are open, ensuring it doesn’t disappear into the crease.
5. What type of eyeliner is best for hooded eyes?
Start with a pencil eyeliner to sketch out the shape, then use a waterproof liquid liner to set the wing and ensure it lasts throughout the day.
Sources
- Mai Quynh – Celebrity makeup artist who explains the characteristics of hooded eyes and shares tips on applying eyeliner for this eye shape. Learn more about Mai Quynh’s work.
- Gianpolo Cecillato – Celebrity makeup artist who provides expert advice on why traditional winged eyeliner doesn’t work for hooded eyes and how to adjust the technique. Find more insights from Gianpolo Cecillato.
Related Articles:
20 Best Fruits for Glowing Skin: Natural Foods for a Radiant Complexion
Fruits for glowing skin are nature’s simplest solution for radiant, healthy skin. Packed with vitamins, antioxidants, and hydration, these fruits…

How to Choose a Skincare Routine That Works in Any Climate.
How to Choose a Skincare Routine That Works in Any Climate. Choosing the right skincare routine is essential for healthy, glowing…
How to Rock the Hush Cut Hair Trend in 2025
How to Rock the Hush Cut Hair Trend: A Complete Guide to the New Hairstyle How to Rock the Hush Cut…
10 Red Eyeshadow Looks: Elevate Your Eye Makeup Game
Red Eyeshadow Looks: Stunning Ideas to Elevate Your Eye Makeup Game Red eyeshadow looks are taking over the beauty scene, and…
B Vitamin Complex for Hair Growth: Boost Your Locks Naturally
The Ultimate Guide to Using B Vitamin Complex for Hair Growth: Boost Your Locks Naturally! Are you tired of dealing with…

How To Moisturize Your Hair: A Comprehensive Guide
How To Moisturize Your Hair Introduction Moisturizing your hair is a crucial element in preserving its overall health and vibrancy. Regardless of…
20 Best Fruits for Glowing Skin: Natural Foods for a Radiant Complexion
Fruits for glowing skin are nature’s simplest solution for radiant, healthy skin. Packed with vitamins, antioxidants, and hydration, these fruits…

How to Choose a Skincare Routine That Works in Any Climate.
How to Choose a Skincare Routine That Works in Any Climate. Choosing the right skincare routine is essential for healthy, glowing…
How to Rock the Hush Cut Hair Trend in 2025
How to Rock the Hush Cut Hair Trend: A Complete Guide to the New Hairstyle How to Rock the Hush Cut…
10 Red Eyeshadow Looks: Elevate Your Eye Makeup Game
Red Eyeshadow Looks: Stunning Ideas to Elevate Your Eye Makeup Game Red eyeshadow looks are taking over the beauty scene, and…
B Vitamin Complex for Hair Growth: Boost Your Locks Naturally
The Ultimate Guide to Using B Vitamin Complex for Hair Growth: Boost Your Locks Naturally! Are you tired of dealing with…

How To Moisturize Your Hair: A Comprehensive Guide
How To Moisturize Your Hair Introduction Moisturizing your hair is a crucial element in preserving its overall health and vibrancy. Regardless of…




I have been checking out many of your articles and i must say pretty nice stuff. I will make sure to bookmark your blog.
There are actually loads of particulars like that to take into consideration. That may be a great level to carry up. I provide the ideas above as basic inspiration however clearly there are questions just like the one you deliver up where crucial factor will probably be working in honest good faith. I don?t know if best practices have emerged around issues like that, but I’m sure that your job is clearly identified as a fair game. Each girls and boys really feel the influence of only a second’s pleasure, for the remainder of their lives.
a9eczv